
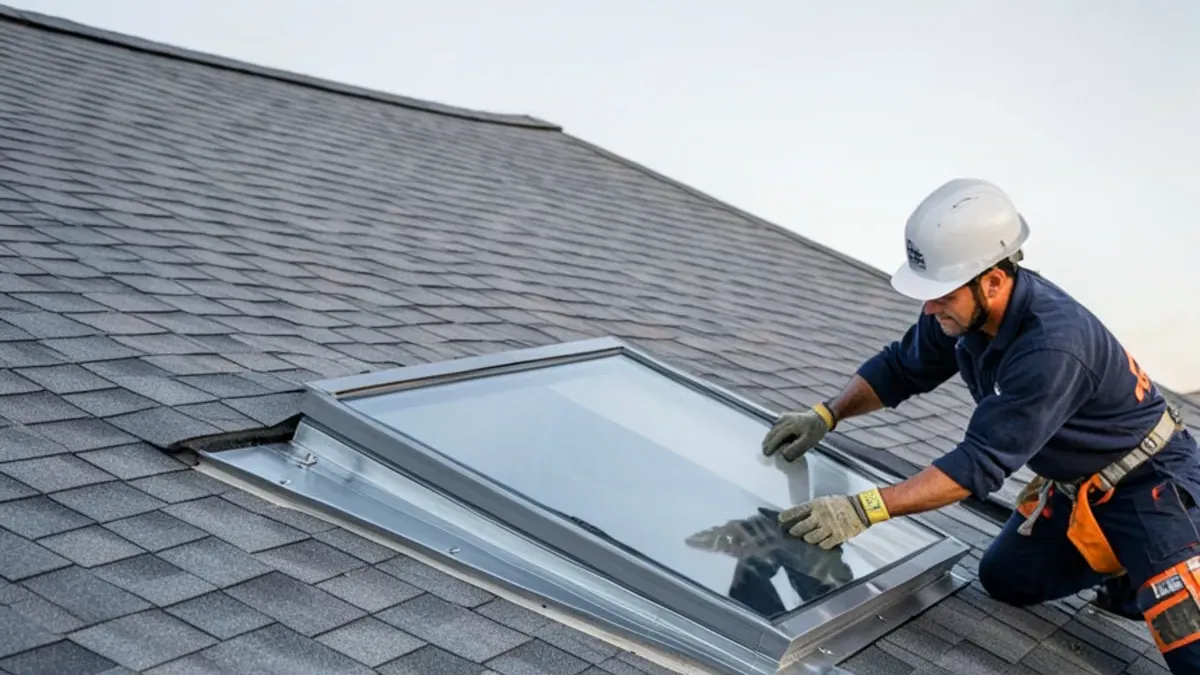
How do you maintain a skylight to prevent leaks?
Check four things once a year, in this order: debris on the curb, the sealant, the flashing and any moisture inside. Most skylight leaks come from the roof work around the unit, not from the glass. A yearly look at those four things is a short job from the ground with binoculars or from a secure ladder, and it costs far less than the drywall and insulation a slow leak ruins.
The State of California's contractors' board says interior water damage is often caused by leaks from one weathered area of the roof or by poorly installed flashing around chimneys and skylights. That matches what a roofer sees at the curb: the glass is fine and the metal and sealant around it have aged.
Do the check in fall, before the rains, and look again after the first big storm.
What do you check outside?
Start with the surface and work toward the frame.
- Debris: leaves, needles and grit piled against the upslope side hold water against the seal.
- Sealant: cracks, gaps or shrinking along the frame edge.
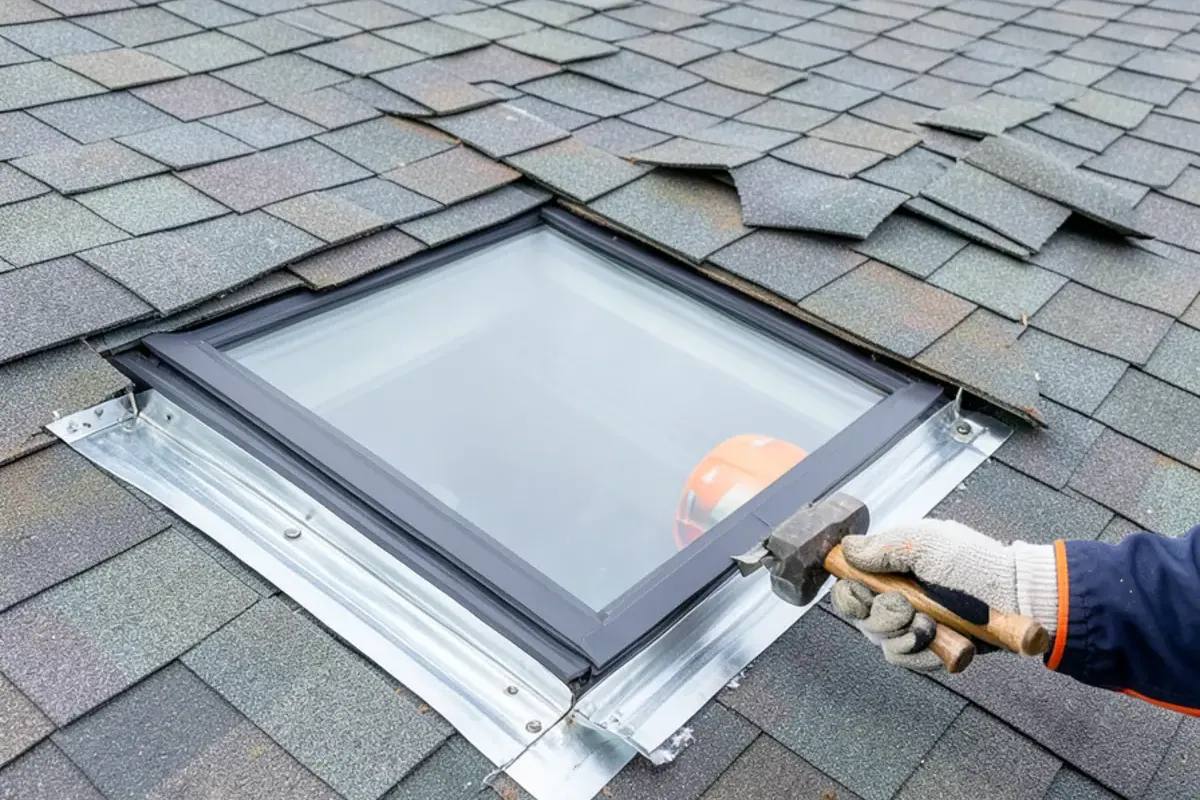
- Flashing: metal that has lifted, bent or pulled away from the shingles.
- Glass or dome: crazing, cracks, or a seal line that has opened.
- Surrounding shingles: cracked or missing pieces within a foot of the curb.
Sweep debris with a soft brush from a safe position. Do not climb onto the roof unless you are experienced and equipped, and do not pressure wash near a skylight; the force drives water under the flashing.

Does the type of skylight change the checks?
Slightly. Know which kind you have before you inspect it.
- Fixed units do not open, so the only moving parts are the sealant and flashing. Leaks come from those two.
- Venting units add a hinge, a gasket and sometimes a motor or crank. Test that the sash closes tight and that the gasket is soft, not cracked.
- Curb-mounted units sit on a raised frame, so check the curb flashing and the cap where it meets the glass.
- Flush-mounted units sit close to the roof, so check the flashing on all four sides, especially the downslope edge where water exits.
- Older domed plastic units craze and yellow in the sun. Surface crazing is a sign of age and the glazing is the part to watch.
Take a photo of the unit's label or frame if you can read one; a roofer can use it to match parts.
Should you reseal, re-flash or replace?
Match the fix to the failure. Sealant is the cheapest layer and the first to age, flashing sits underneath it, and the unit itself is the last thing to fail. The table shows the usual order a roofer works through.
| What you find | Usual fix |
|---|---|
| Cracked or shrunken sealant, flashing still flat and tight | Clean the joint and reseal |
| Flashing lifted, bent or rusted | Re-flash the unit with new metal and shingles lapped over it |
| Rot or staining in the wood curb | Repair the curb, then re-flash |
| Cracked glass or acrylic, or fog between panes | Replace the unit, ideally with a reroof or flashing job |
| Unit works but the shaft shows repeated staining | Open the area, find the real entry point, then decide |
On three Alameda skylights the answer was a reseal at the flashing and no new units. When the glass is the failed part, the skylight replacement page covers what that involves. A homeowner's patch of roofing cement usually moves the water sideways and ruins the next repair.
What does re-flashing a skylight involve?
It is a roofing job, not a caulk job. The roofer lifts the shingles around the unit, inspects the curb and deck for rot, installs new metal flashing in the right order and laps each piece so water runs over the one below. The shingles go back over the top and the sealant is the last layer, not the only one.
Expect the visit to include these steps:
- Photograph the stain, the curb and each flashing edge
- Remove shingles within reach of the flashing and check the deck for soft wood
- Replace the flashing, starting at the downslope edge and working upslope
- Re-lay or replace the shingles and seal the joints
- Send photos of the finished curb before leaving
If wet decking is found, you will be told before more work continues. On one Alameda job, aged decking led to a change order that was explained first.
How do you clean a skylight without damaging it?
Use a soft cloth or sponge, mild soap and water, and rinse gently. Avoid abrasive pads and strong solvents, which scratch glass and acrylic and can dull the coating. Work from the inside whenever you can reach it, and treat the outside as a ladder job for someone with the gear.
Clean the inside glass and the shaft, then look at the corners and the bottom of the shaft for staining. A faint ring or brown tide line on the drywall around the opening is the usual first sign of a slow leak.
Is condensation a problem?
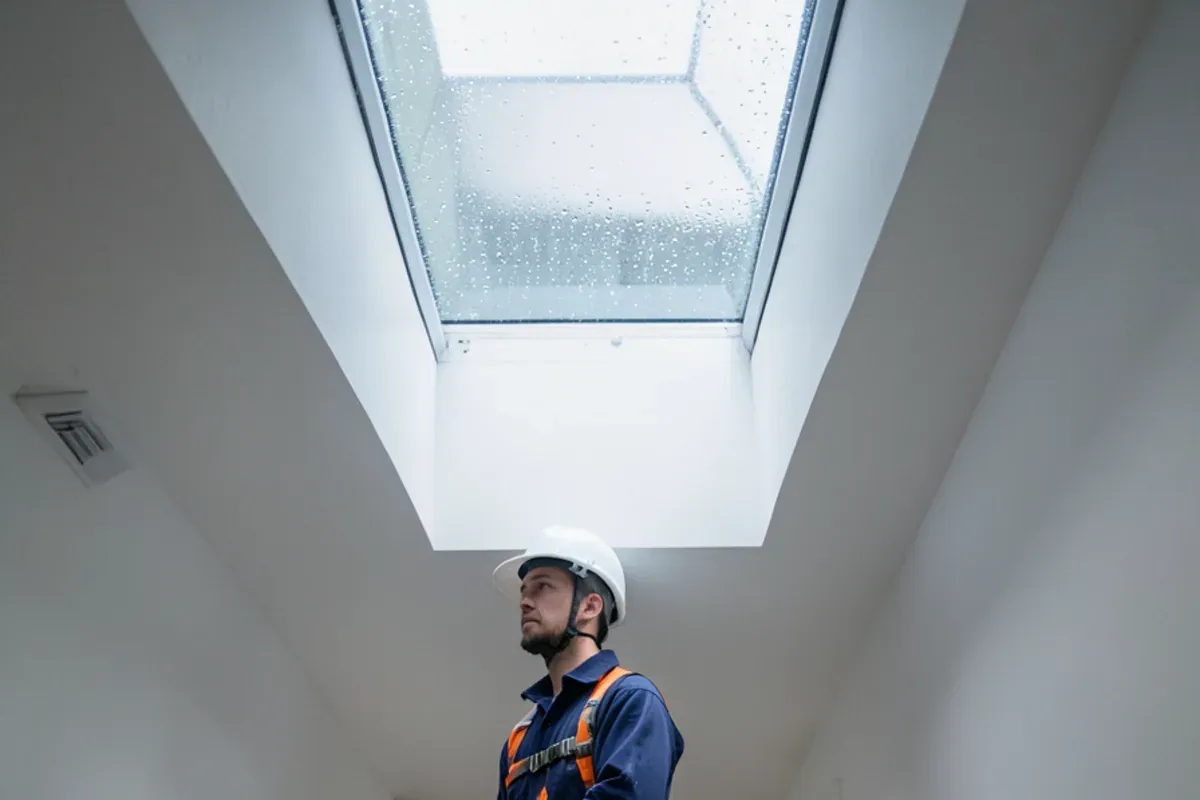
Condensation is a signal, not always a fault. Droplets on the inside of the glass on a cool morning come from household humidity, and a bath or kitchen skylight will see more of them. A bath fan that vents outside and a few cracked windows cut the moisture.
Two things are different. A stain, drip or damp curb after rain means water entering from outside. Fogging or beads that stay between double panes means the seal on the glass unit has failed, and that is a replacement question, not a cleaning one. Keep notes on when it appears.
What we see on skylight leaks in Alameda
Skylight problems in Alameda are rarely about the glass. Pedro once sealed a customer's small skylight leak from the truck before that customer had hired the company. On another job, three skylights were resealed at the flashing instead of being replaced, and a garage skylight leak was patched the next day. One customer's skylight started leaking after a different roofer's reroof, and on another house a skylight was replaced as part of a reroof. The pattern is the same each time: look at the flashing and sealant first, replace the unit last.
That order saves money. A resealed or re-flashed curb costs a fraction of a new unit, and replacement makes sense only when the glass is cracked, the seal between panes has failed, or the frame is past repair. The skylight repair page explains how repair and replacement compare.
What should you do before and after a storm?
Before the first storm, sweep the debris, check the sealant and look for lifted flashing. After a strong wind, glance at the shingles around the curb from the ground or with binoculars, since a few displaced shingles near a skylight can let water in even when the unit is sound.
If water is coming in now, put a bucket under the drip, move belongings and photograph the stain, the ceiling and the curb with the date. Do not climb up in the rain. Photos of damage matter if an insurance claim follows: your policy's terms decide what is covered, and wear and tear is usually excluded while sudden damage is usually covered, so read your own policy.
When should you call a roofer?
Call when you see any of the following:
- A water stain on the ceiling or around the shaft after rain
- Cracked or lifting flashing, or sealant that crumbles
- Fogging between the panes
- Shingles damaged near the curb after wind
- A drip you cannot trace to condensation
Skylights in a bathroom or kitchen see the most condensation, so start there when sorting out a stain. A shaded or tree-covered roof keeps the curb damp longer, which is why a roof under big trees needs the debris check twice a year. For roofs in Alameda, the winter wet season runs October through April, so the fall check is the one that counts.
For the wider picture on skylights, from repair to replacement, see our skylights overview. If you have a drip now, call us or ask for a free estimate, and have photos of the stain and the curb ready.